Despite my earlier article, where I mentioned my Raspberry Pi 1 was gathering dust for years, I decided to get myself a v3 version. Simple reason being this will let me use it as a machine to muck about with, as the v1 is now doing various tasks on the network. It’s not a good idea to mucking about with something that is heavily involved in your eco-system, until you’re ready to deploy it properly. Much better to have a ‘dev’ box for testing things out on. Besides, I got one of those ‘itches’ I needed to scratch. And the last time I got one of those, I ended up buying a new graphics card. So this isn’t too bad a purchase, in the grand scheme of things.
I opted for a starter pack, which contains a Pi 3 motherboard, case, power supply, 16GB MicroSD card an SD Card adaptor to put the card in to a PC. I could have just got the motherboard and case, really. But thought I may as well get the extras, just in case. I also got a pack of heatsinks, which will help keep the chips cool. Not that I plan on overclocking the device much but every little helps. If they aren’t making a noise, and they do the job, it’s win/win.
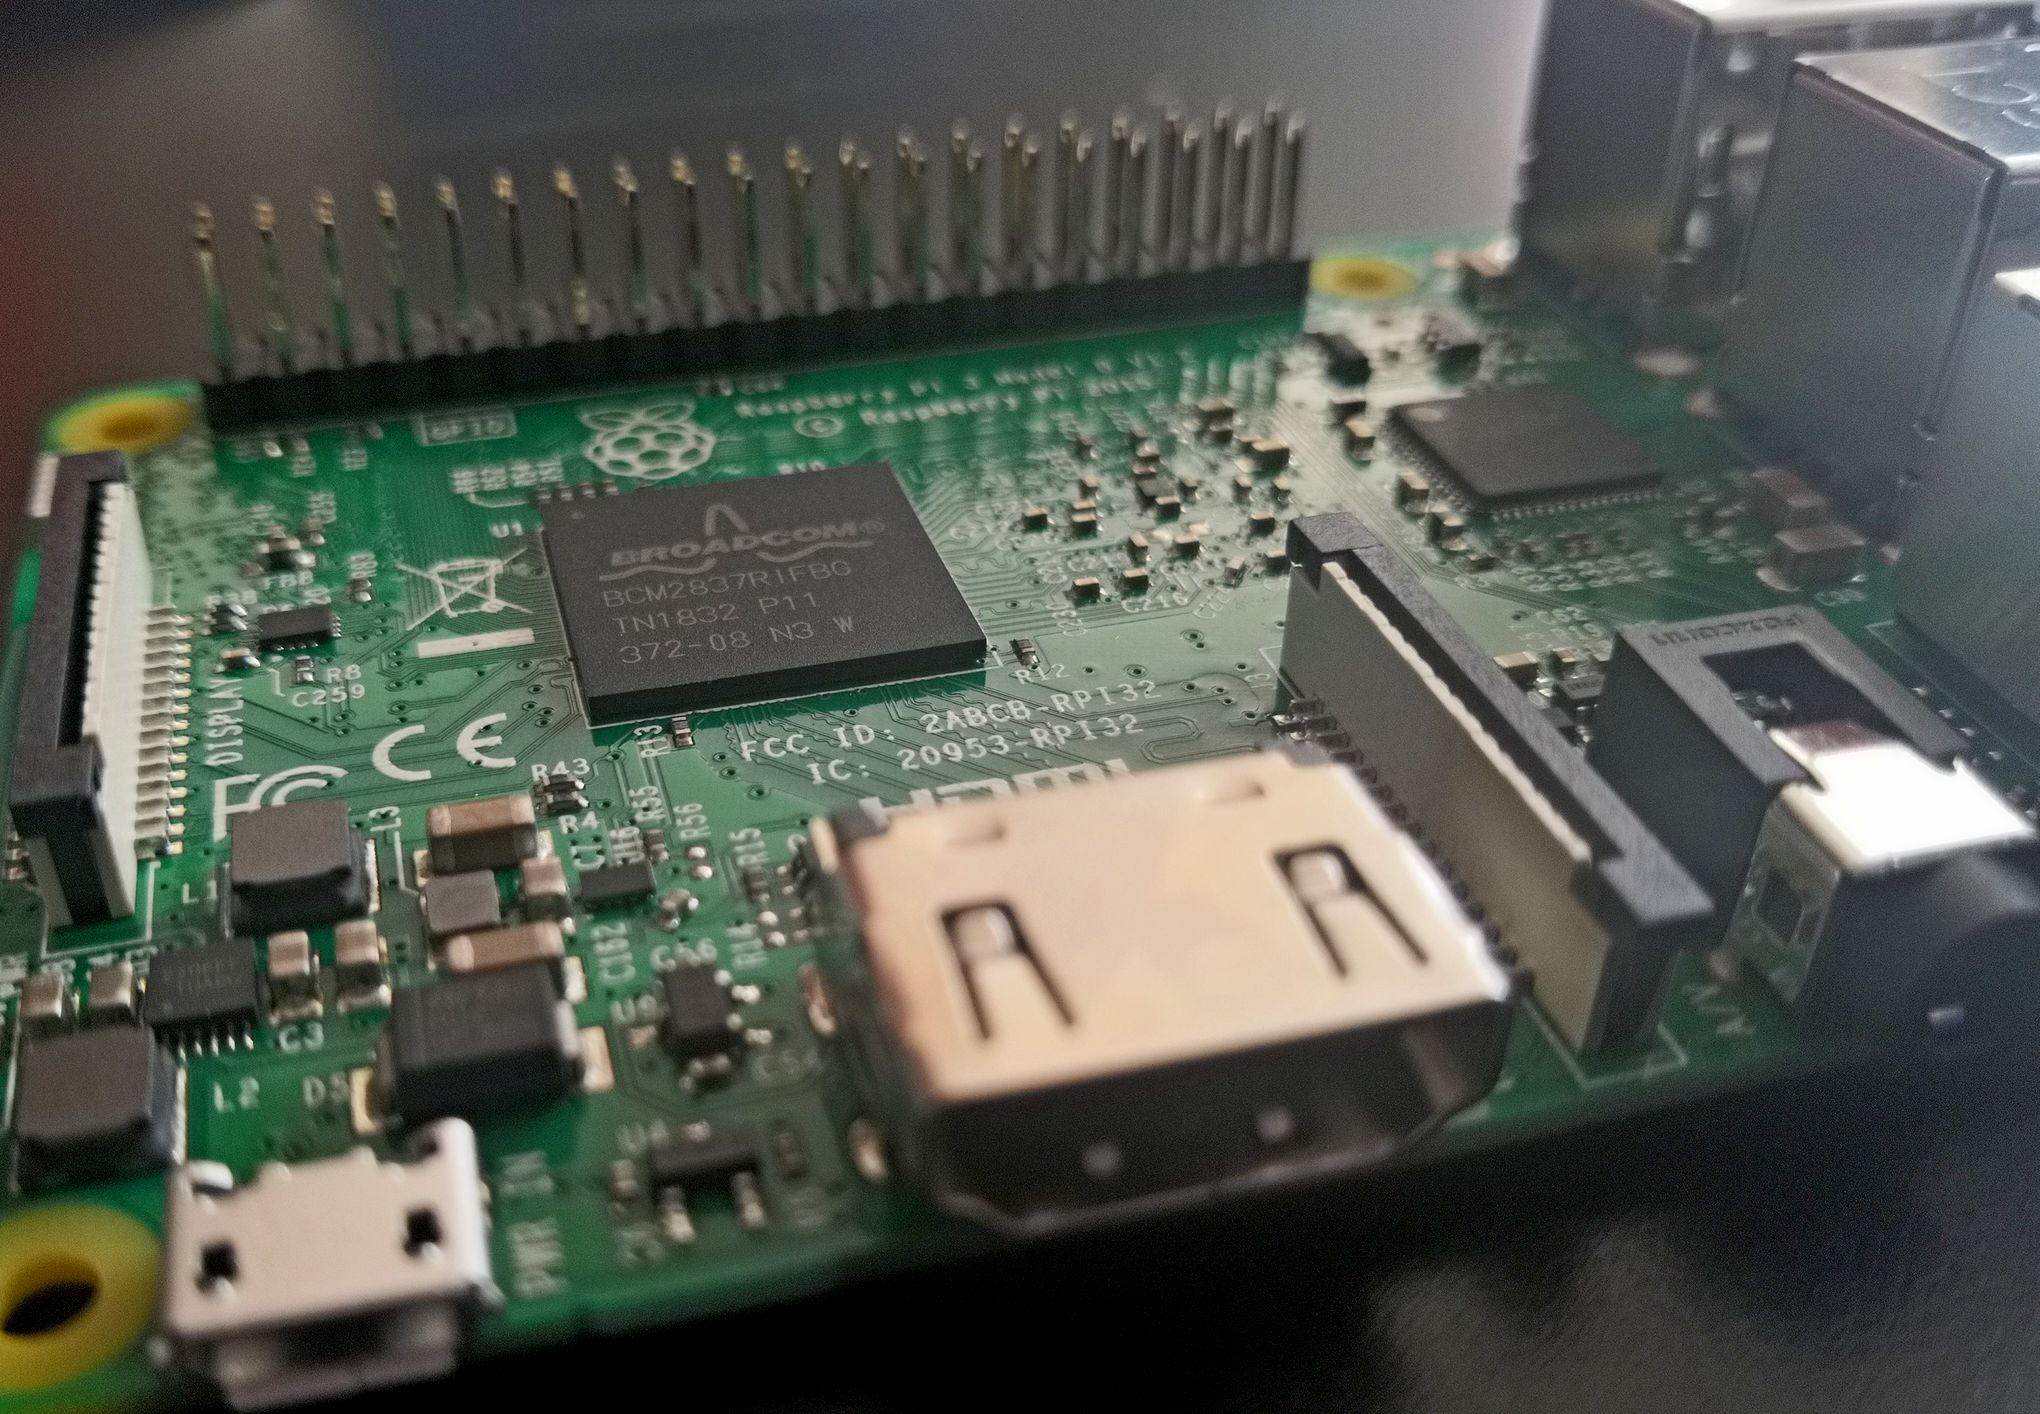
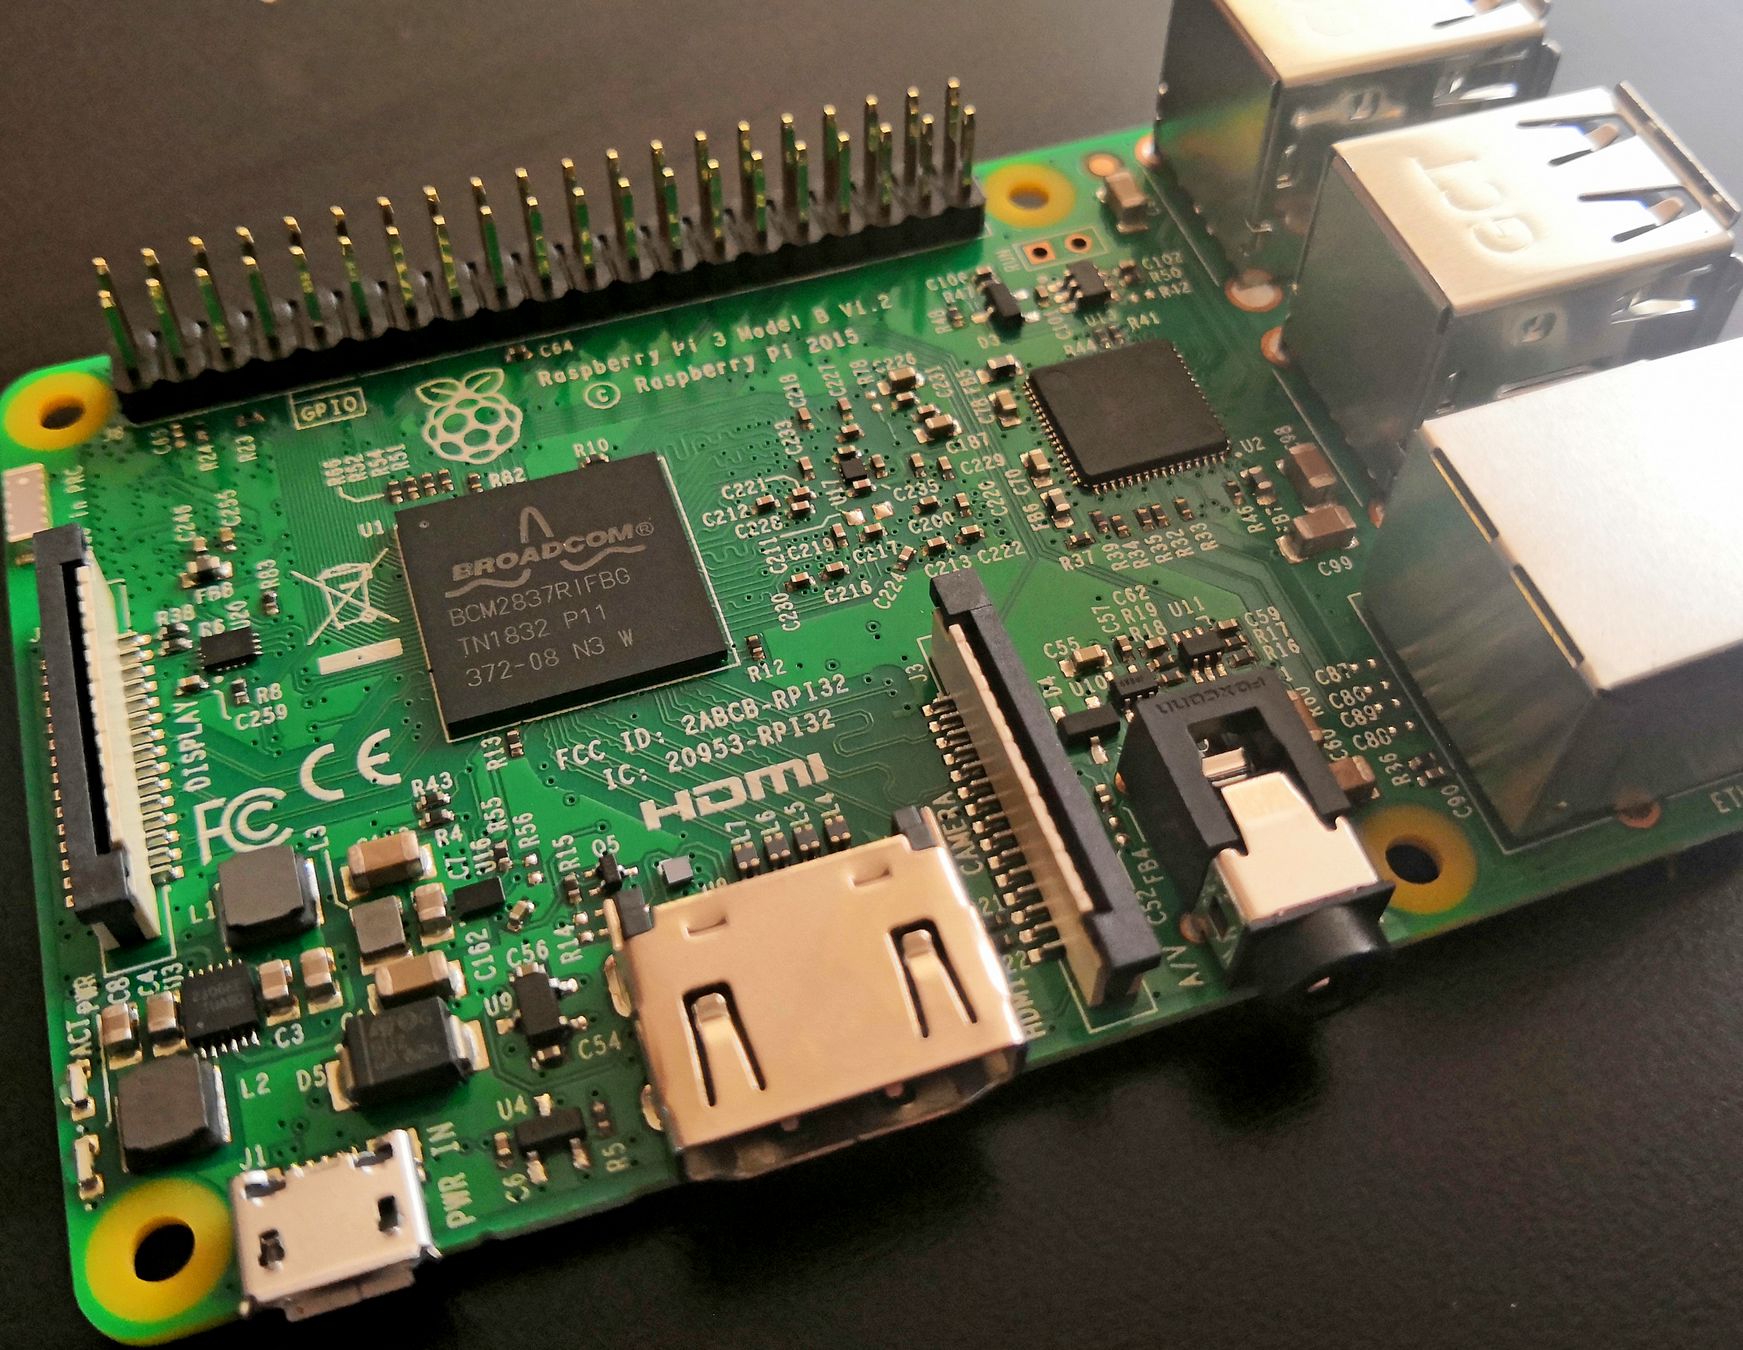
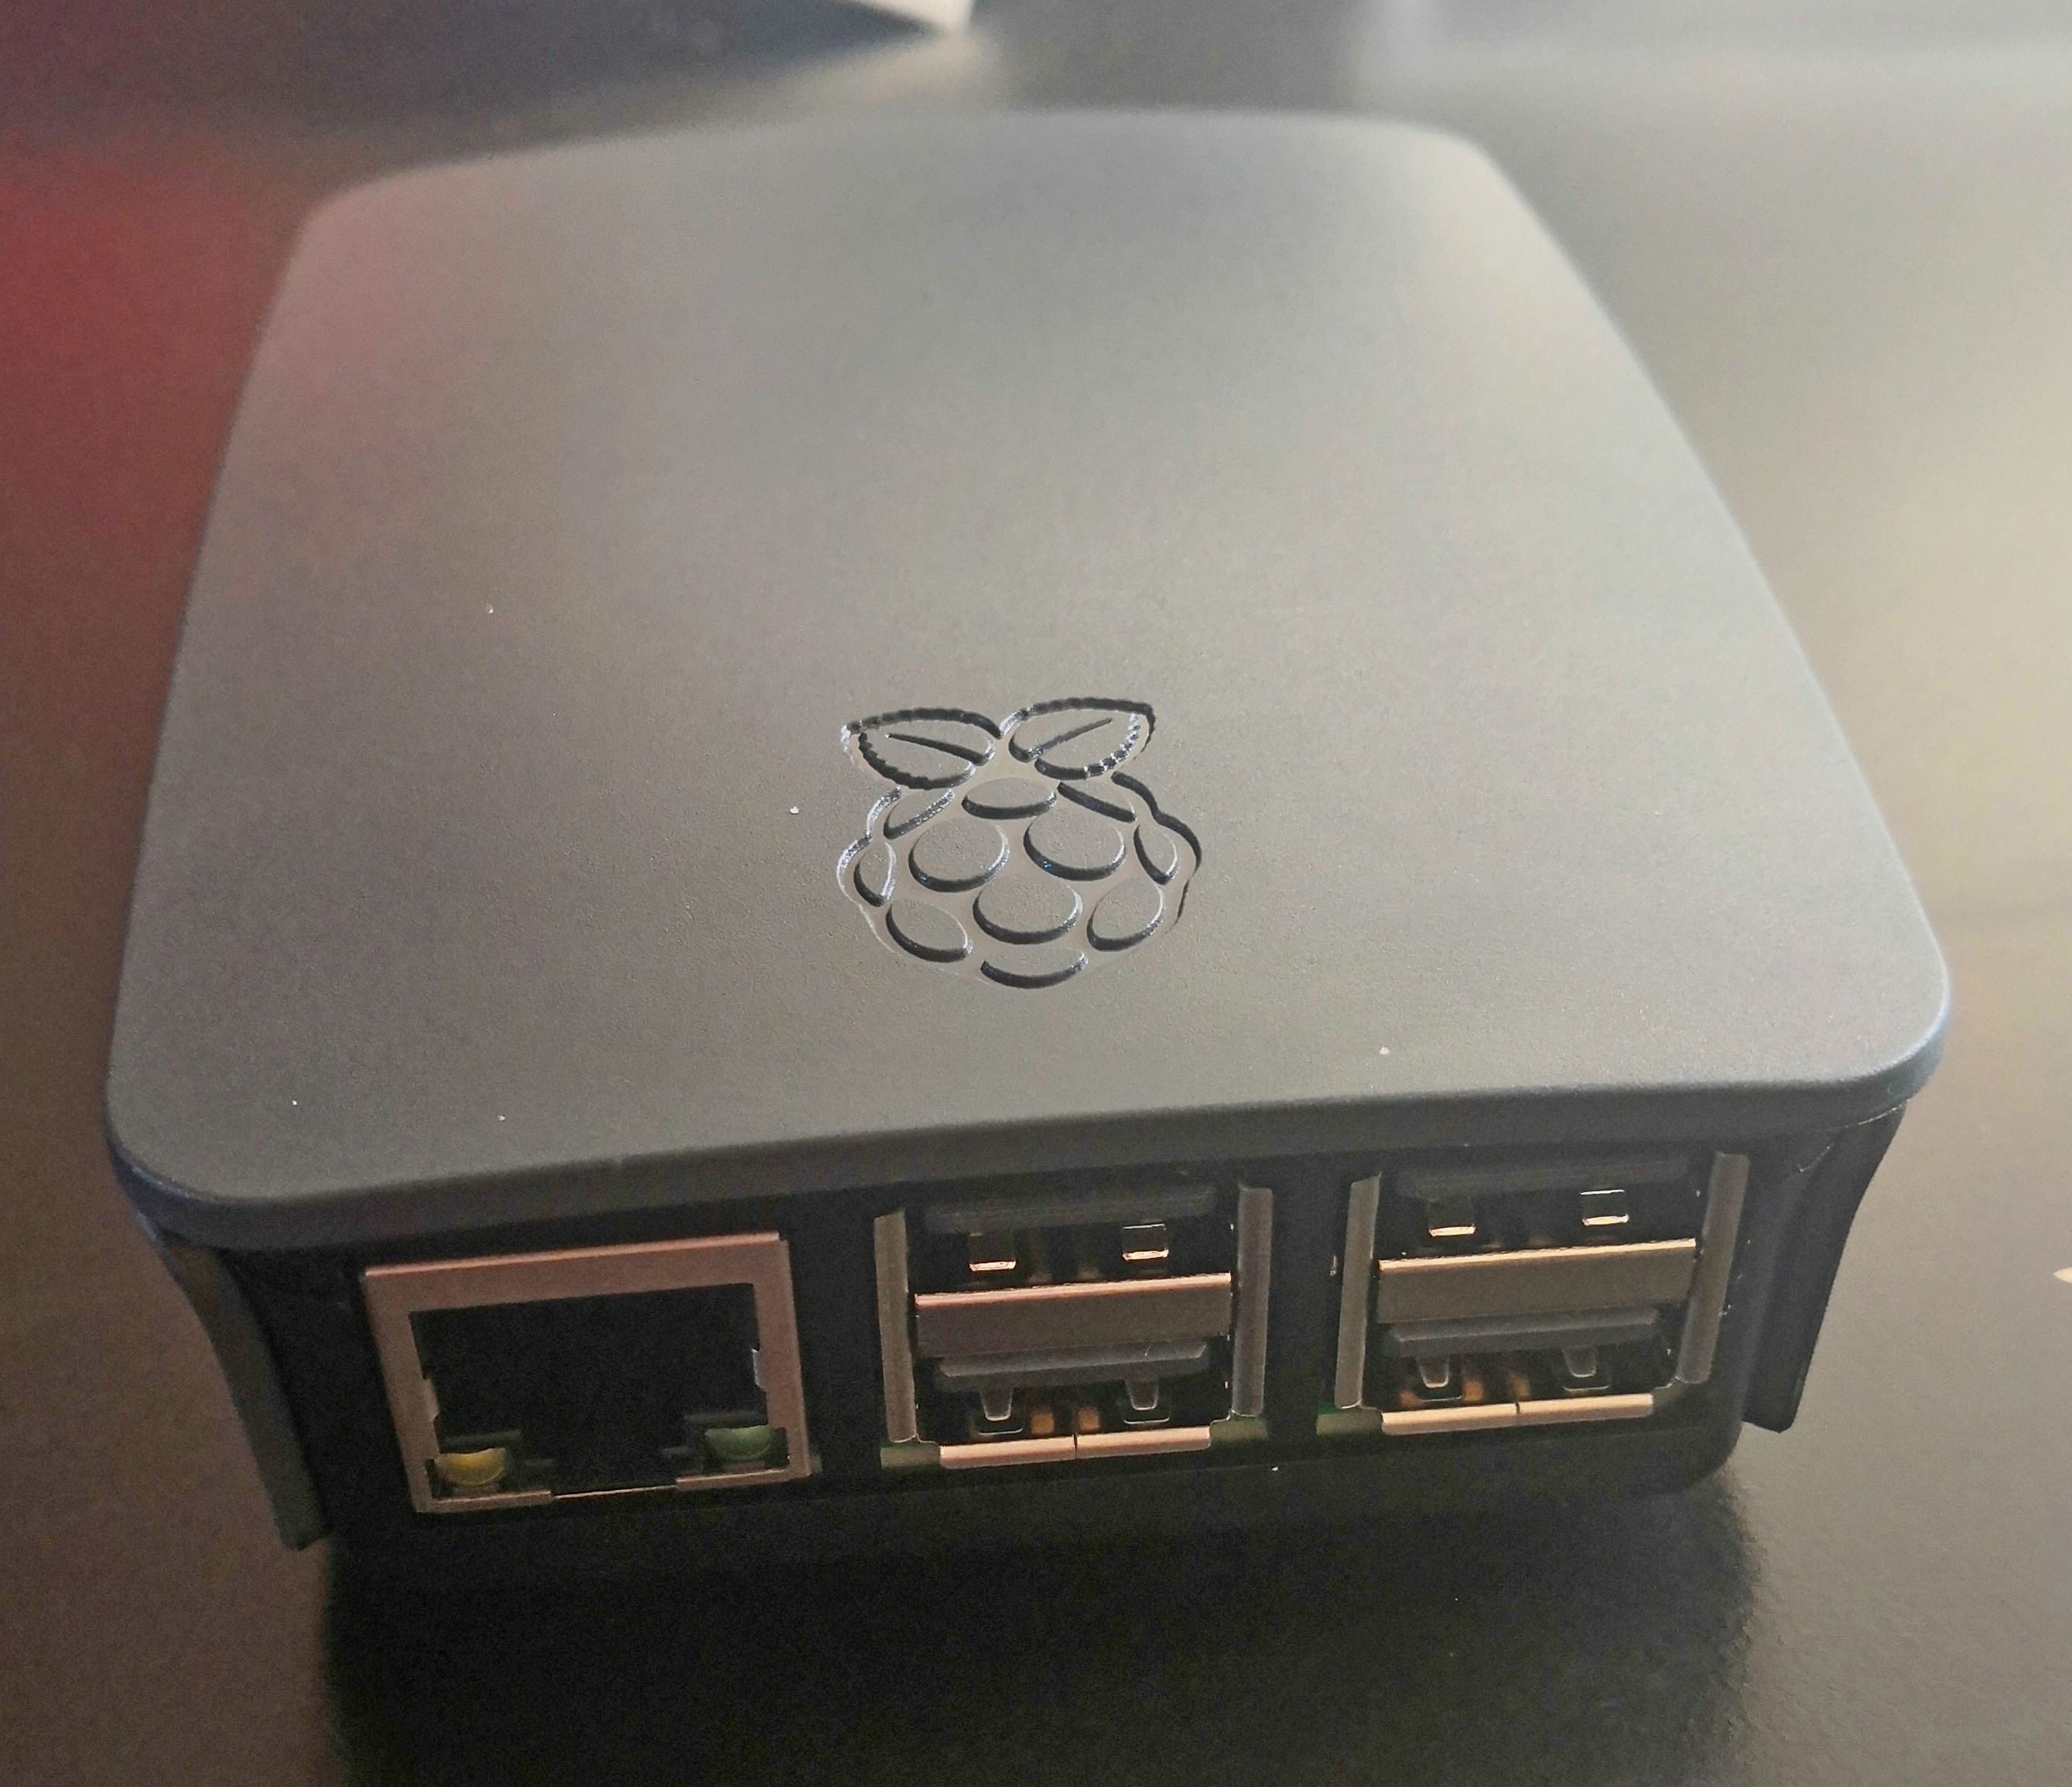
On opening the box, I was presented with the motherboard, as you’d expect. This is a model B board, but there is a B+ board that has increased the specs a little further but the B will do me just fine. The Broadcom CPU runs at 1.2ghz (1200mhz), and has 4 cores. This is a fairly hefty boost from the 700mhz single core CPU present in the Raspberry Pi 1. Other improvements include 1GB RAM (my Pi 1 has 256MB), 2 more USB ports, wireless LAN, Bluetooth. It comes with a MicroSD card slot, rather than SD card, which makes minimal difference in standard operations, and some other little bits. NOOBS is provided on the SD Card, which makes getting up and running a breeze.
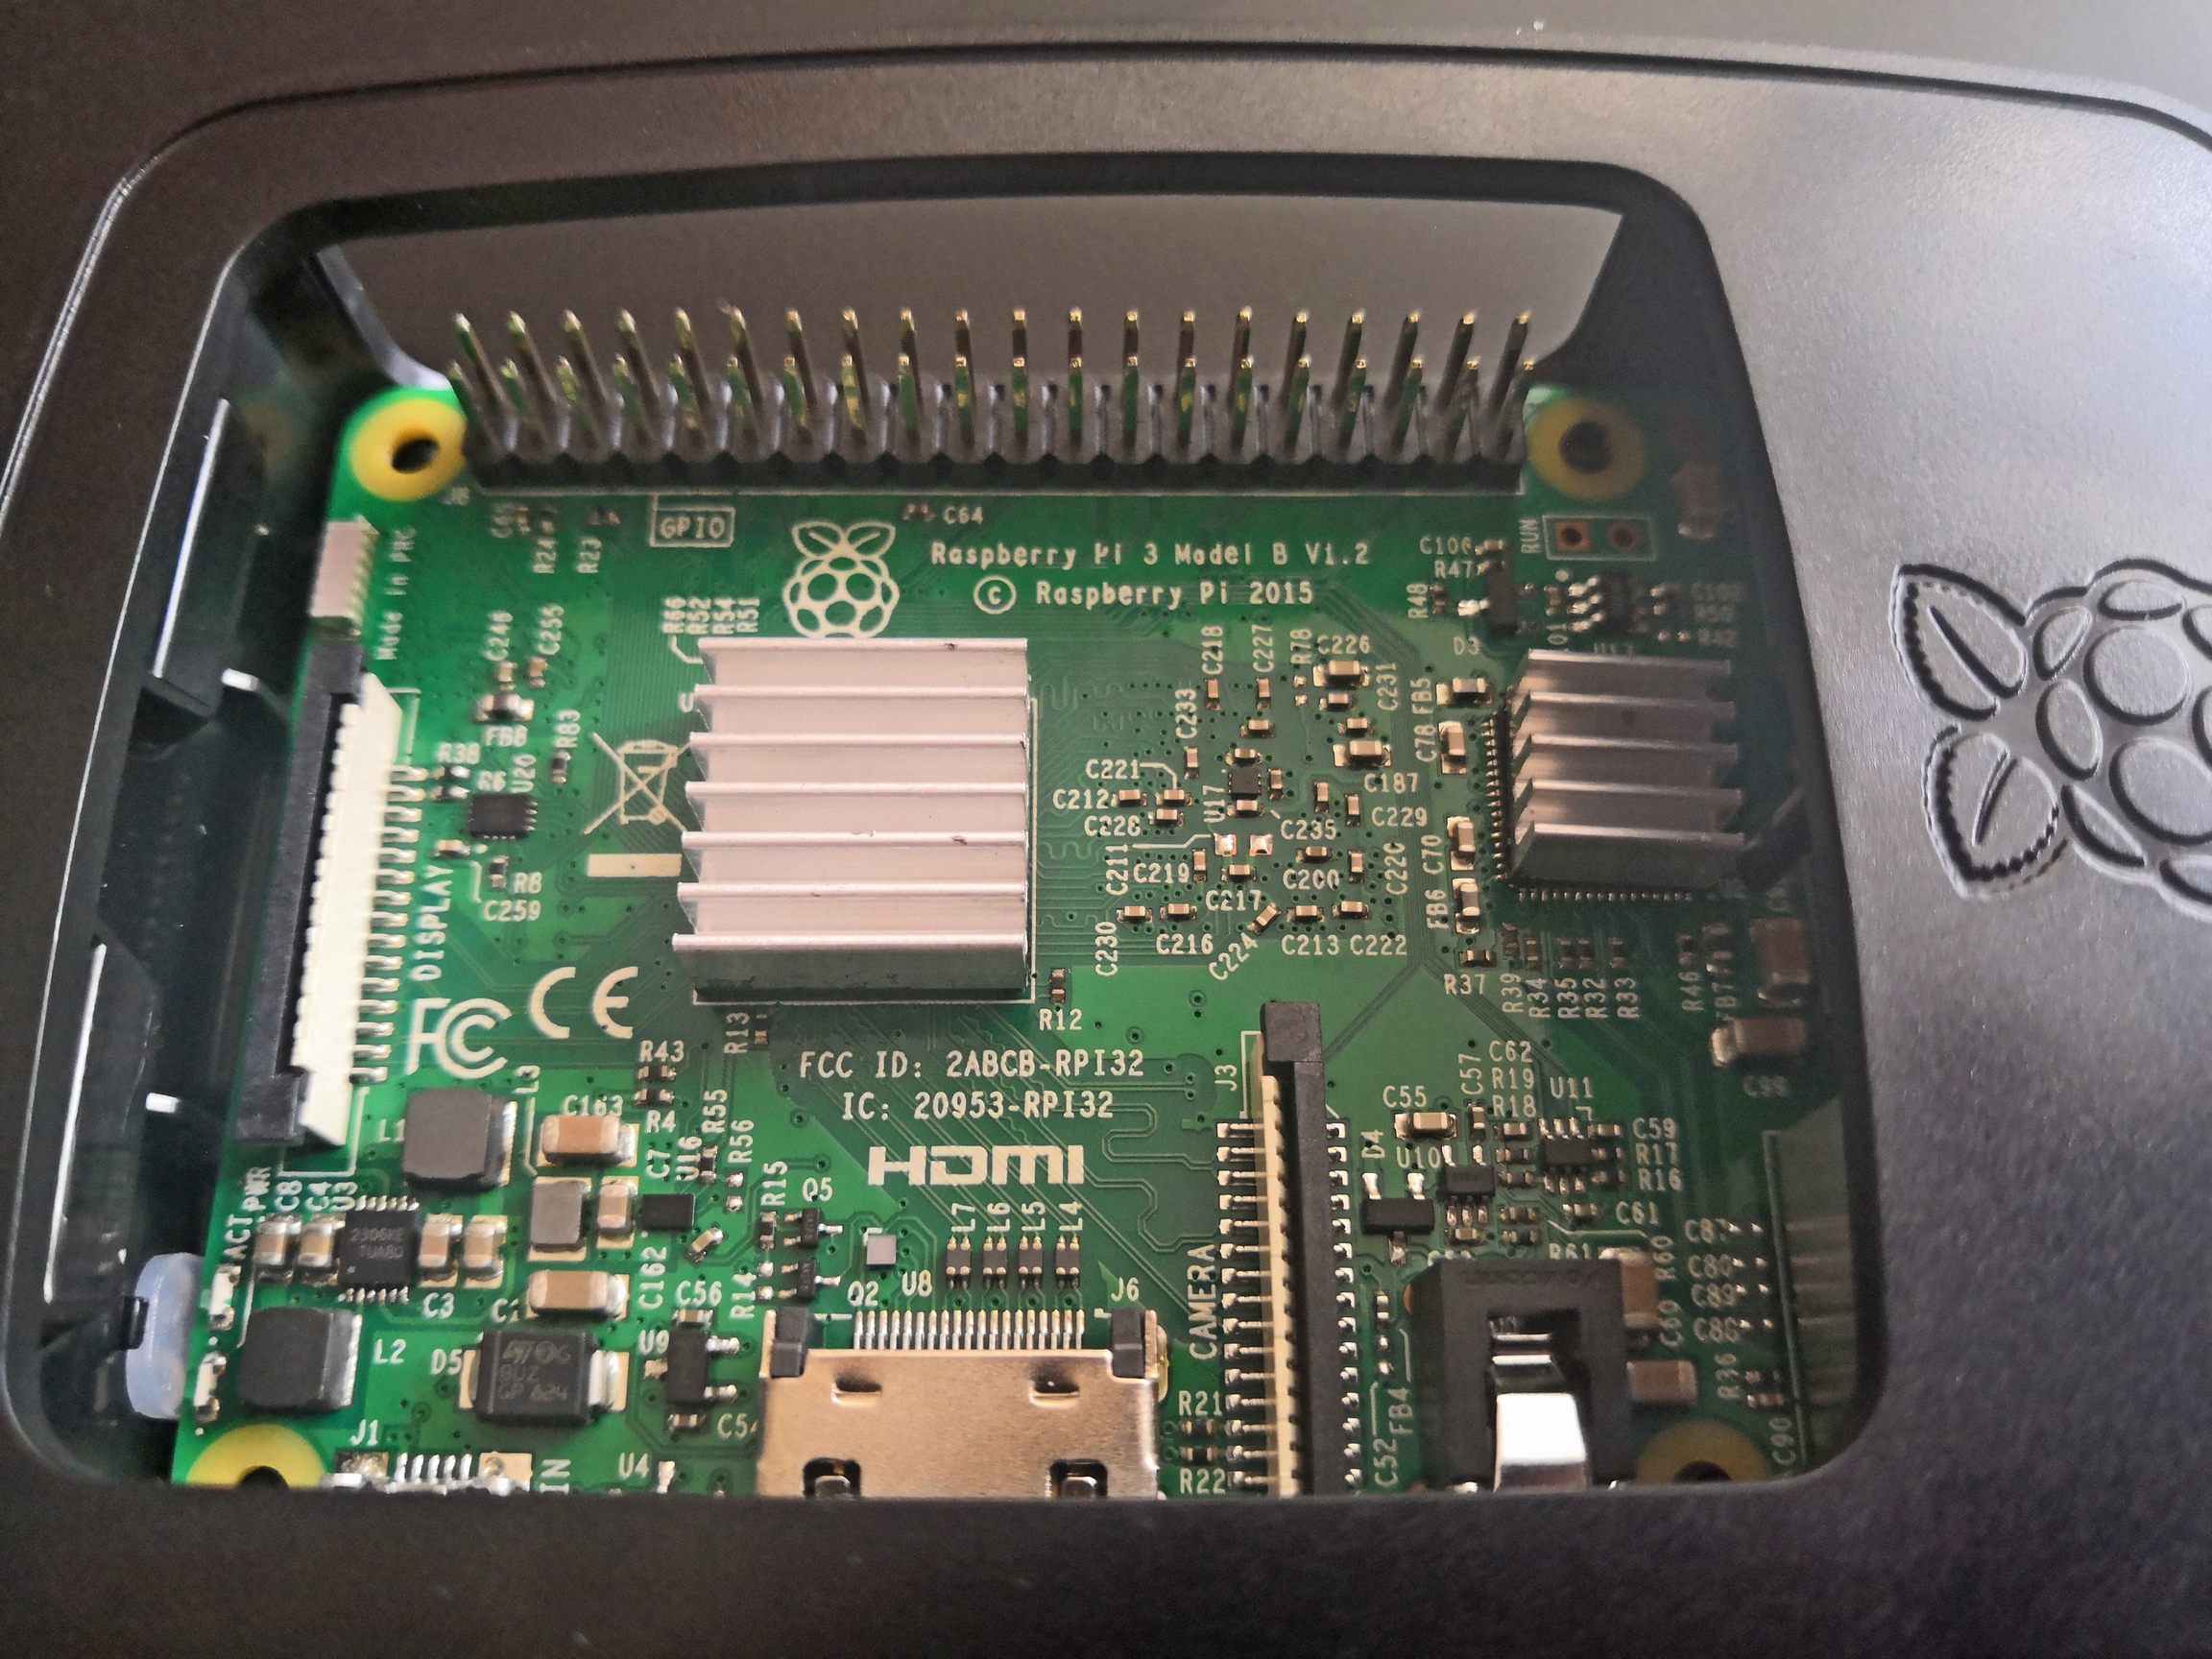
After opening the case up I put the motherboard in which snaps very satisfyingly in to place, I must say. I made sure all the exposed ports lined up with the case correctly, then stuck on the heatsinks. I could then put the side and top panels on. As far as building a PC goes, this is a painless as it gets.
Once the device was all assembled, it was a simple of matter of inserting the SD card, hooking up the monitor/keyboard/ethernet cables, and hooking it up to the power. I was pretty quickly greeted by the familiar NOOBS installer. Just as with the Raspberry Pi 1 I went with a Rasbian Lite installation, for now. I was up and running, to a command prompt within minutes. It boots a hell of a lot quicker than the Pi 1. It certainly feels zippier in the terminal, too. From there I could set up my SSH and it was ready to rock.
So there we are; a very painless setup for the Pi 3. It took less than half an hour, to get to the login prompt, from opening the box. Later on I do plan to see how it fairs with the full desktop experience, and if that is any improvement over the pain that is the Pi 1. I also will also look at using this model as a games emulator. Hopefully the built in bluetooth will make it a sinch to get an XBox One controller working, and turn it in to a very versatile gaming device.
As with the Pi 1, this is thoroughly impressive work, for a £35 price point. If you’ve never had a Pi before, now is the time.