In a previous tutorial we looked at setting up an SSL certificate using a paid for CA provider. With it we got a pretty cheap option that would do for a single low-traffic site. However, whilst still being a decent price, this can start to get pretty expensive, especially for devs that do this as a hobby, should there be multiple sites they wish to secure. Also, businesses have to secure their dev and staging sites, which is cost they don’t really want. Well today, we’re going to go one better than cheap; we’re going to set up SSL, on a website, for FREE. That’s right. Absolutely nowt. Enter Lets Encrypt.
Note: this article is out of date. Certbot has since moved to Snap, for installing/renewing certificates. Go to https://certbot.eff.org/ for instructions on how to get it installed on your server.
I maaaay do another article on installing this plus setting up auto renewal for urls that require DNS authentication (wildcards and domains that do not allow for port 80), in future.
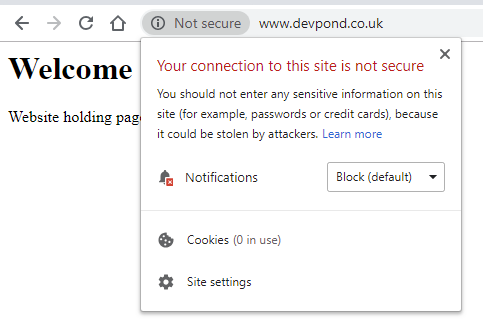
I had a spare URL lying about so deemed that a good starting pont for this process. A basic holding page on has been setup, with standard http (port 80) requests set up in the apache conf file. As with the previous tutorial, this server is set up on an Amazon Web Services EC2 instance running Amazon Linux with Apache as the web server. Instructions will be based on that kind of environment. If you’re using a Linux distro that uses the yum package manager there shouldn’t be much difference. If using a distro that uses apt then consult Certbot’s documentation on installing the packages through that. It also assumes you know a bit more about your own web server, and where you keep things.
Unlike the previous tutorial, going back and forth with Namespace, we’re going to so everything from the command line. So make sure you’re comfortable with that. We now need to install some packages so we can talk with Lets Encrypt.
sudo yum install certbot python2-certbot-apache
Because the server is purposed to host multiple websites, changes need to made to the Apache configuration manually. To do this run the certbot command with the “certonly” parameter. If you don’t, certbot will attempt to edit your apache conf files automatically, which could mess things up. If it’s your only site and not using separate conf files, per wesbite, then feel free to not use the “certonly” parameter and continue with automated install (Personally, even if I did have the one site, I’d probably do it manually. I’m just that kinda guy).
sudo certbot --apache certonly
The tool asks you for an email address to send urgent notices to, such as renewal notices, then whether to accept the terms and conditions of the LetsEncrypt service. It will also ask you if want to share your email address for various newsletters.

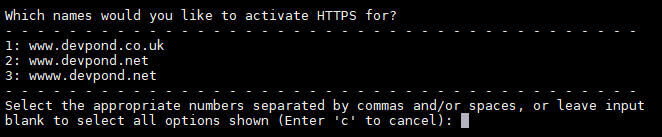
Now we are asked which sites we want to activate HTTPS on. I’ve already secured the .net domain, so I want to do the .co.uk domain only. Not sure where wwww came from. I’m assuming it’s read my conf files and perhaps I typoed in one of those (on further investigation it turned out I had). So press 1 and enter.
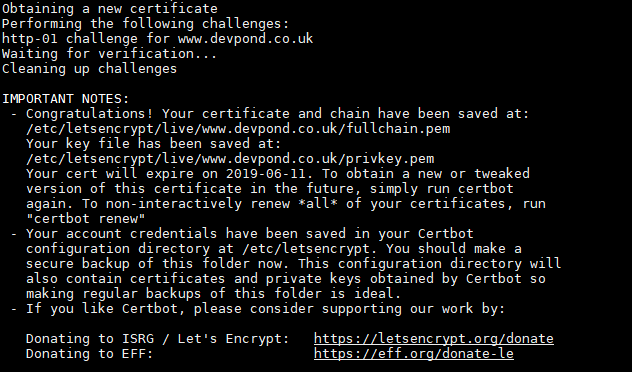
And look at that, Certbot has gone and created a new certificate ready for usage. We’re not done yet, though. Now the site’s conf file needs to be changed to allow for https (port 443) traffic and add the certificate.
Now to edit the conf file for the website. Cd to wherever it is you host your conf files and edit it.
sudo nano yourwebsite.conf
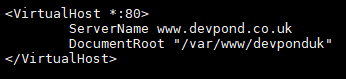
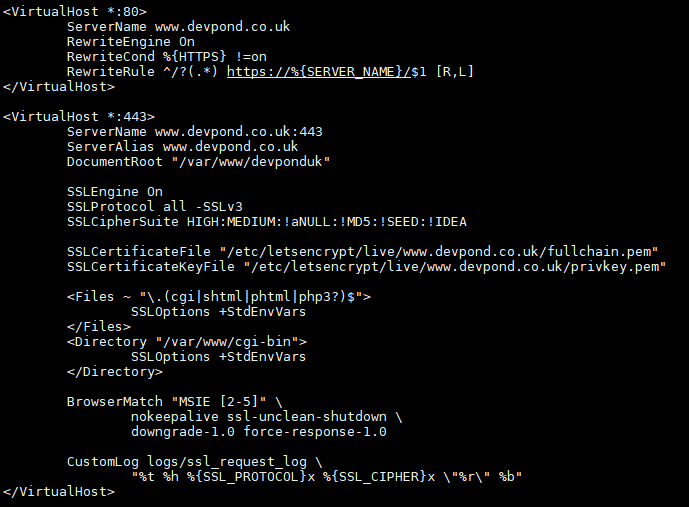
This site’s set up is extremely basic. Literally pointing port 80 traffic to the folder that contains the index.html file. As with the previous tutorial we set up a virtual host for our port 443 traffic, and redirect port 80 to the https version.
And now we restart Apache and check everything works by going to http://www.devpond.co.uk
sudo apachectl restart
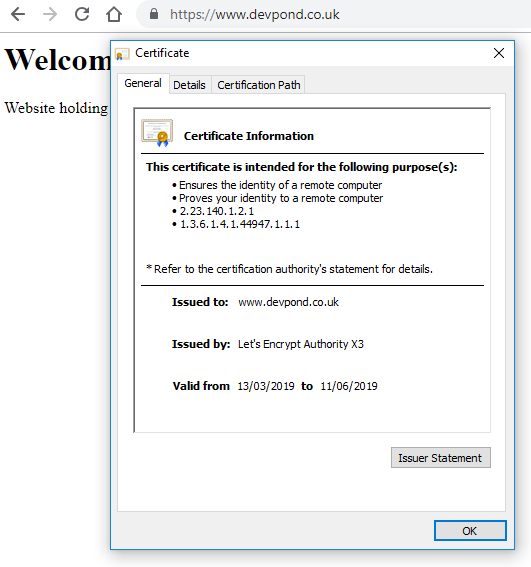
How wonderfully simple was that? We’ve been redirected to the https version of the site. The website is now secured, with a little padlock and a genuine certificate.
But we’re still not quite done. As you can see, from the valid from/to line, our certificate is only valid for 90 days. Let’s Encrypt give their reasoning for such short lived certificates to encourage renewal automation, amongst others, and they do not plan to offer longer living certs. Of course, you can renew every 90 days, on the command line, but doing that ourselves is going to be a nuisance and easy to forget to do (although you will receive emails on when that time is close). Why should we need to log in to our server, every 90 days, and run the same command? As LE suggest, we’re going to automate that process and have the server do it for us.