Installing
Pi-Hole offer a few methods of installation. As they note, piping to bash is a potential security risk. If someone were to hijack the installation site URL they could replace the code with something more malicious. However, since we’re going on the assumption you are not using a Pi in a mission-critical instance, and the site is safe, at time of writing, we’re going to go for the easy option.
curl -sSL https://install.pi-hole.net | bash
I have to be honest, I found the whole installation process to pretty trouble free. The wizard they provide takes care of most things. The only extra thing I needed to do, after setup, was set my DNS to be the Pi itself, as it is in use as the network DHCP server. You can pretty much select all the default options, in the wizard, and be done with it. But let’s go through them anyway.
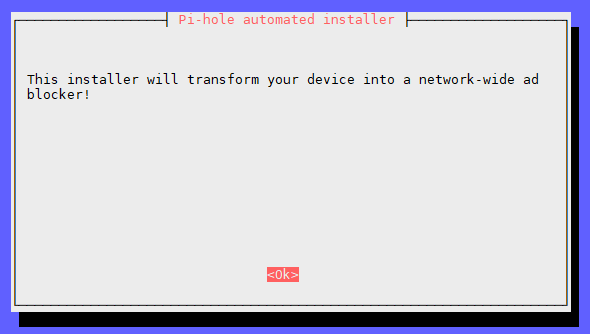
What looks like a warning is actually the thing we want to do. So, err…. Ok.
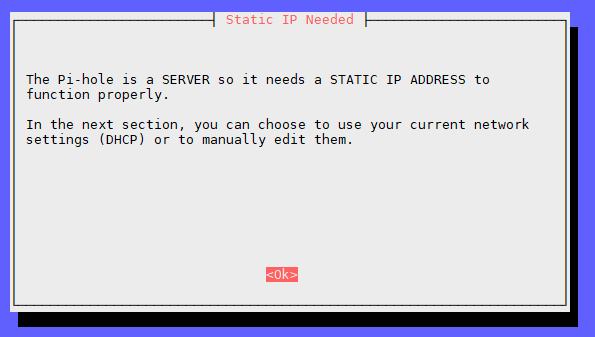
In a previous tutorial we already did all this. I’m not sure why it bothers with this message, as it didn’t show any DHCP settings after anyway. Possibly due to already having a static IP.
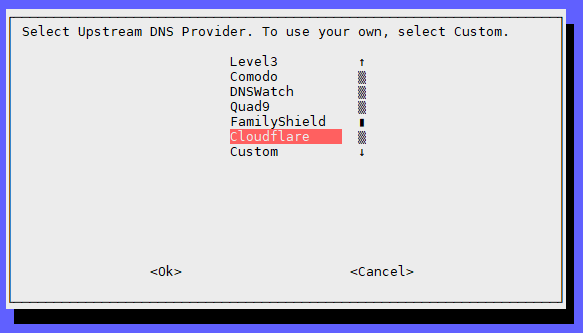
The GUI then provides a selection of DNS providers to use. Cloudflare is the 1.1.1.1 IP we set up in the DHCP tutorial. So I’m going with that. The top option, Google, is the 8.8.8.8 IP we used as a secondary DNS. Feel free to choose whichever you wish.
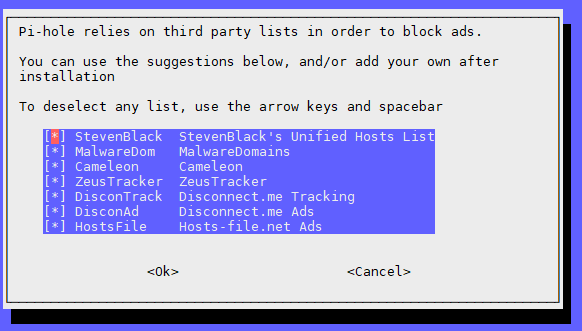
May as well keep all those.
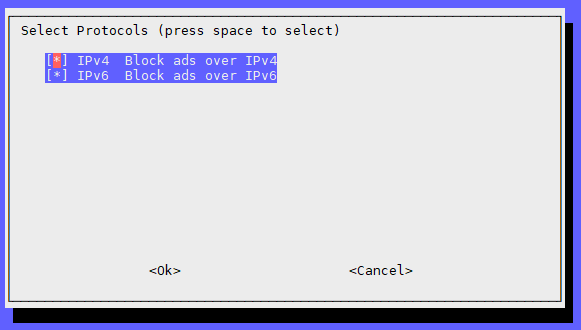
Yep. Keep both of those, too.
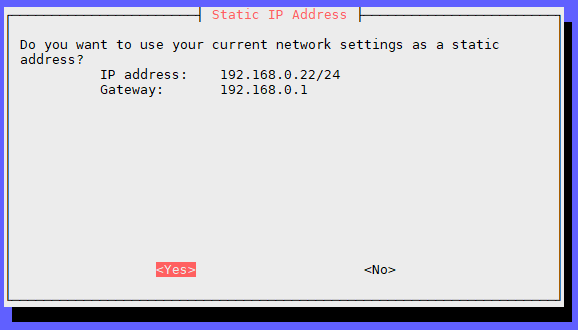
The installer has picked up that we already have a static IP address set up, and do we want to keep it. Well, yes we do.
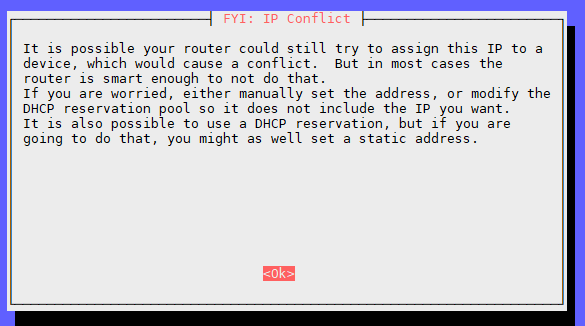
I can safely ignore this warning. Our DHCP server is the Pi itself, and it’s not going to assign its own IP address to another device. As it states, if you still have your router as your DHCP server it still should be fine, with your static IP set.
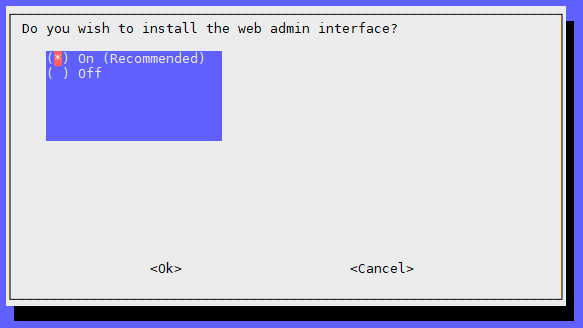
If you want to use the web interface, accessible by http://pi.hole/admin/ then keep this. If you don’t care enough to bother with it (you’re a Sys Admin now. Of course you want it. What’s wrong with you!?) then you can turn this off.
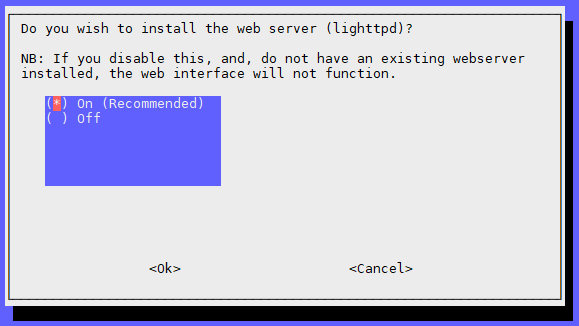
The Pi I’m running doesn’t have a web server package installed. So I’m saying on to this. If you have got something such as Apache already up and running select off. There may be some extra configuration required, later on, if you do already have something.
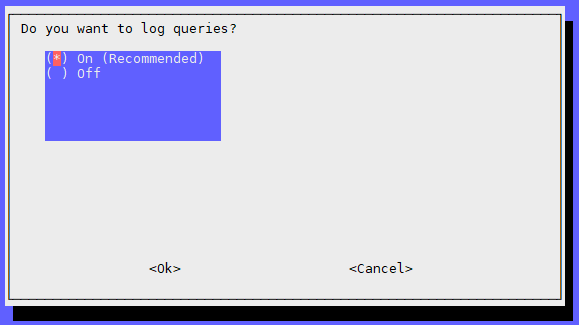
Logging. Again, entirely up to you if you want to utilise this or not. It’s not required, if all you want to do is block ads and not analyse anything. The next screen will ask you what level of logging you want. Once done, leave it for a bit for it to install various packages and do what it needs to do.
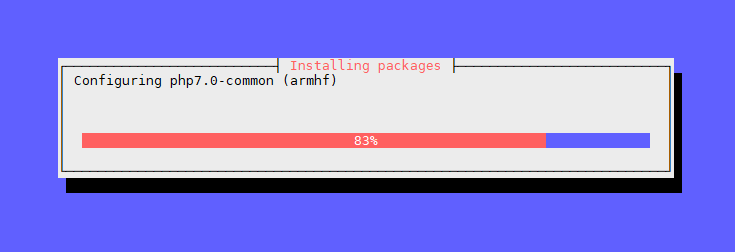
Once the packages are installed you’ll be greeted by a success message. Make a note of the login password, if you requested to install the web admin interface.

Final Tweaks
We’re not quite finished yet. If you set up your Pi to be a DHCP server, we now need to point the Pi back to itself for DNS lookup.
sudo nano /etc/dhcp/dhcpd.conf
And change the option domain-name-servers line where we have 1.1.1.1 and 8.8.8.8 set up as our DNS to be the Pi’s IP address.
option domain-name-servers 192.168.0.22;
Save that and restart the service.
sudo service isc-dhcp-server restart
Thanks Simon for sharing the Pi-hole goodness. One concern that comes to mind is now that we work from home, as a developer, you mind need access to those “ads”. To test sites.
How easy it is to turn off an on the domain filtering from the admin interface?
And second question, are you still using it after a year since you wrote the post?
Cheers
Hi Richard, I believe there is a switch in the admin interface to enable or disable Pi-Hole. Alternatively there is a command line option.
I’m not using Pi-Hole at the moment. It was a side project I was trying out for a colleague and, at the time, I was low on ethernet ports, and electricity plugs. But I recently purchased a 20 port switch, so I may consider putting it back in to the network eco-system.